

What matters most when opening sterile supplies?
Check the pack, open it near the time of use, protect the contents, and speak up when you first spot a breach. That is the core of opening sterile supplies safely. A tray, a bottle, and a pack of gauze may look routine. They still deserve a clear check. Speed is useful only when the process stays under control. In an orthopedic OR, small supply tasks sit beside complex surgery; they must not get lost beneath it. This guide is for trained perioperative teams reviewing their workflow. It separates three jobs that are too often blurred: keeping a pack intact, moving an item safely, and tracking what enters the case. Use it with the product instructions and your facility’s current policy. A familiar pack is not permission to skip a check. Habit can hide the very error you need to catch.
Inspect the pack before you break the seal
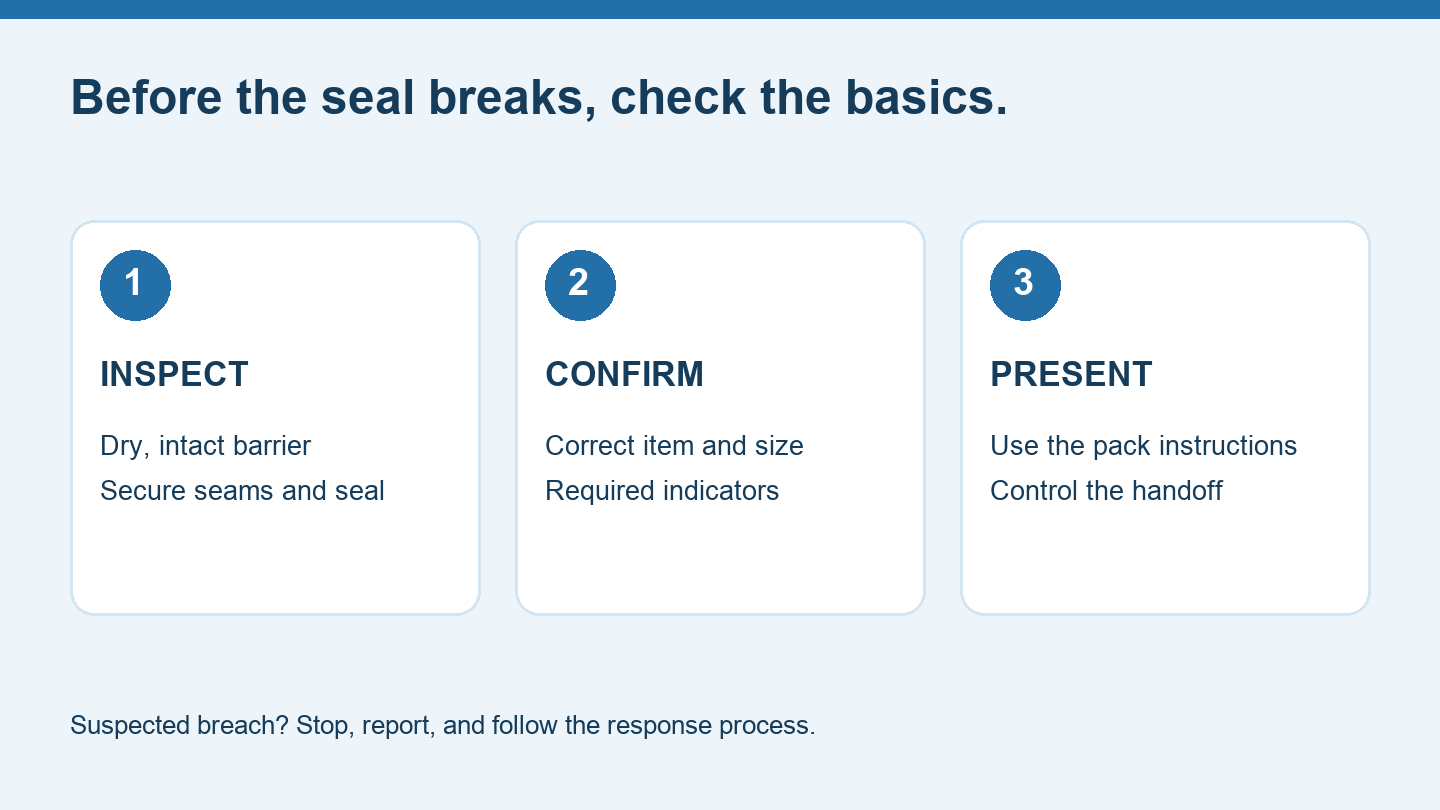
Before opening sterile supplies, inspect the wrapper, seams, seal, and contents where visible. A wet patch, split edge, or puncture is a reason to stop, not a detail to explain away. Confirm the item, any applicable expiry date, and the required processing indicators. The CDC guidance on sterilizing practices makes a key distinction: a changed chemical indicator shows exposure to a process; it does not, by itself, prove sterility. One good mark cannot save a torn pack. Keep the check clear and repeatable:
- Check the barrier for moisture, holes, and broken seals.
- Match the label to the item the team needs.
- Review the required indicators before release for use.
Do not place a suspect pack on the field while someone looks for an answer. Set it aside through the local process, then get a new pack.
When should an instrument set be opened?
Prepare the field as close as possible to use. Opening sterile supplies early just to make the room look ready adds exposure with no clear gain. Yet a fixed rule such as “only after anesthesia” does not fit every case, especially an emergency. Build the timing around the procedure, required counts, and team readiness. AORN’s sterile technique guidance does not give a universal safe time limit for an open field. A clock cannot prove that a table is still sterile. If a delay occurs, use the facility’s approved method to protect the setup and assess what has happened around it. A cover can reduce exposure; it cannot promise zero contamination or undo a breach. Plan the setup. Cut needless waits. Most of all, avoid turning a convenient local habit into a rule that claims to fit every operating room.
Present instruments and implants with control
Opening sterile supplies is a transfer task, not a throwing task. Heavy items need a stable handoff. Do not launch a tray or implant across a gap and hope it lands cleanly. AORN describes direct presentation to a scrubbed team member or secure placement on the field. Choose the method that suits the pack and its instructions. Keep hands and outer packaging from contacting sterile contents. With a double barrier, do not assume each visible layer is sterile; identify which surface the manufacturer intends the scrubbed person to handle. Confirm implant size and other device details before opening the selected unit. An open pack does not make a costly device safe to use. If contact is uncertain, say so. Tell the team what took place. Do not stay quiet just to keep the case moving.
Opening saline: read the container, not the room habit
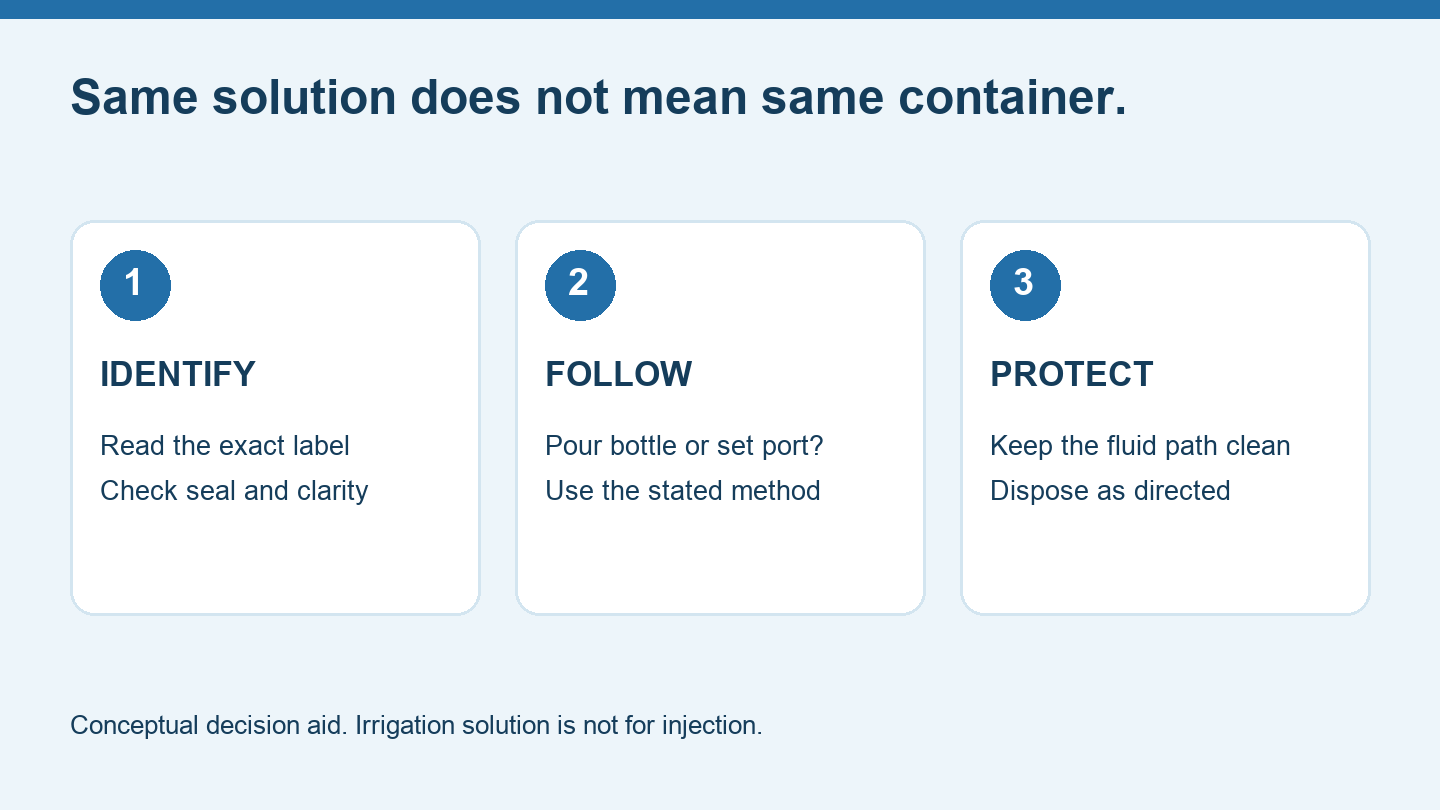
There is no single opening method for every saline container. Some irrigation products are designed to pour; others require a compatible set. Opening sterile supplies safely means reading the actual label before you choose how to move the fluid. The saline irrigation label on DailyMed explicitly describes pour use and protects the fluid path from contact below the protected thread area. A rule that bans all pouring is wrong. Check that the seal is intact, the container is sound, and the solution is clear. Use the stated aseptic method and prevent splash or contact with nonsterile surfaces. Do not improvise a spike for a container that does not call for one. Irrigation solution is not for injection. Follow the product’s instructions for prompt use and disposal of any remainder. The exact container matters more than a technique learned from a different bottle.
Open gauze in planned batches and keep the count visible
Gauze needs two safeguards: aseptic handling and reliable tracking. One cannot replace the other. Opening sterile supplies in planned batches makes new additions easier to follow than an unannounced pile of packs. Introduce each batch in the agreed way and ensure additions enter the running count. Use the facility’s rules for count timing, staff roles, and discrepancies. AORN’s retained surgical items guidance distinguishes counting from accounting: counting tallies items, while accounting confirms that an item placed in the patient has been removed. A neat total is not a reason to ignore an item whose location is unclear. Keep the team able to see and hear the process. A pack label is useful, but it does not replace the required check of its contents. If the tally does not agree, raise the discrepancy and follow the response pathway before you call the count complete.
A break in the field calls for action, not silence
Stop and report suspected contamination as soon as you see it. Opening sterile supplies correctly is only the start; hands, movement, and later contact can still harm the field. AORN’s sterile technique overview calls for prompt corrective action and a glove change when contamination occurs. A wet or torn barrier also needs assessment; simply hiding the spot beneath another layer is not a universal repair. Tell the team what touched what, name the items at risk, and follow the approved response. Avoid silent fixes that leave others working with the wrong assumptions. Use this brief end-of-setup checklsit to focus the review:
- Were suspect packs kept off the field?
- Did fluid transfer follow the correct product label?
- Were new gauze additions tracked?
- Was every suspected breach reported and addressed?
The standard is plain: make the safe action easy to see, repeat, and verify.